| |
1. Download and install the DSA Gateway Reprogramming and Diagnostic Utility. |
| |
2. Download the Update File for the J1939 Converter Box. |
| |
3. Connect a DSA DNet or other RP1210-compliant J1939 communication adapter between the Personal Computer and the 9-Pin Diagnostic Connector on the vehicle. |
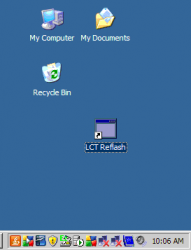 |
4. Launch the DSA Gateway Reprogramming and Diagnostic Utility from a Desktop Shortcut or the Start Menu. |
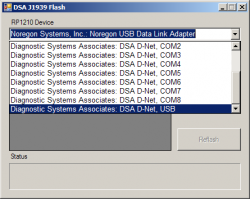 |
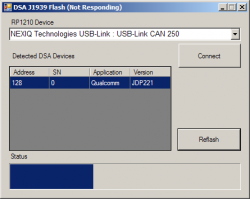
5. Select the communication adapter you are using from the drop-down list and click the Connect button. |
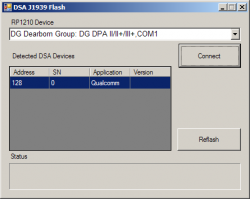 |
6. If connection to the vehicle was successful, any detected Converter Boxes will appear in the table. Select the Converter Box by clicking on the appropriate row. |
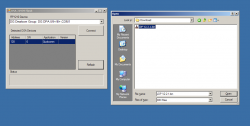 |
7. Click the Reprogram button to select the update file and begin programming. |
 |
8. Reprogramming should begin automatically. The bar shows the reprogramming progress. |
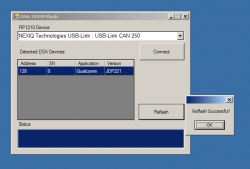 |
9. The reprogramming process is complete! |